There are many things After Effects should take from Cinema 4D. One of them is the ability to hide an object from the viewport, but have it show up in the render. There are many ways you can do this in Cinema 4D (visibility switch, layers, etc.), but none in After Effects.

When working in After Effects, I will often have many layers and effects where I consider my work to be done. I know that what is on those layers is good to go, but having them visible slows down my previews and the responsiveness of the app. I don’t need to see everything at all time and I just want them out of the way while I work. Sure, I can manually toggle the visibility switch for each layer I want to hide, but this requires a lot of manual operations to toggle many of them on and off. There is no native way to do this, but there is a way.

(more…)

Animating to audio is an important part of working inside of After Effects. But it can become messy very quickly. As soon as you move things around you have to manually resynchronize everything. Here’s a solution that I’ve been using for a couple of years that works very well.

Disclaimer first, I know I found this expression somewhere at some point and saved it as an animation preset, but I have no idea where I found it. After some REsearch I was not able to find it. So if you happen to know where it comes from, please let me know in the comments and I will gladly give credit where its due.
How it works

First level compositions

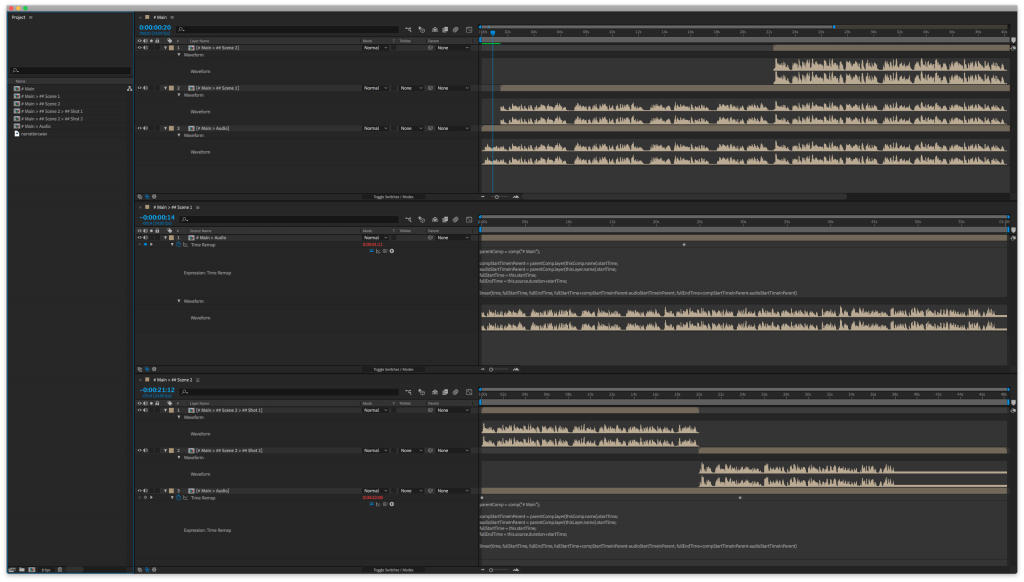
Let’s say you have your main composition, which contains your animation. Inside of it are many compositions and each one is a scene. These are your first level compositions. In your main composition, place the composition you want synced. It might be a composition containing your voice-over. It may also contain a video. Whatever will work since we’re using time-remapping. For our example we’ll use # Main > Voice over.

Assuming that your main composition is called # Main (see A composition naming system for After Effects for why I think it should), you can just time-remap the composition you want synchronized and add this expression to the time-remap property.

parentComp = comp("# Main");

compStartTimeInParent = parentComp.layer(thisComp.name).startTime;
audioStartTimeInParent = parentComp.layer(thisLayer.name).startTime;
fullStartTime = thisLayer.startTime;
fullEndTime = thisLayer.outPoint+thisLayer.startTime;

linear(time, fullStartTime, fullEndTime, fullStartTime+compStartTimeInParent-audioStartTimeInParent, fullEndTime+compStartTimeInParent-audioStartTimeInParent)

Now replace the parentComp variable if your composition is named differently.

This expression was written by the great Zack Lovatt

This assumes your synchronized composition is not time-remapped inside the parent (# Main) composition. It should be anyway. The one placed in # Main is your guide composition. The one that will drive the ones placed inside your other compositions. When using a time-remapped parent, use the following technique.

Second level compositions

Your second level compositions are the ones placed inside the first level compositions. As in the hierarchy # Main > ## Scene 1 > ### Shot 1

## Scene 1 would be first level and ### Shot 1 would be second level. Again, refer to A composition naming system for After Effects if this naming system makes no sense to you.

For second level compositions to have a synchronized compositions, they have to refer a time-remapped parent composition. This can get problematic when reusing a composition inside many parents, but it will work when using a single child-parent hierarchy.

Use the same synchronized # Main > Voice over composition, time-remap it, and add this expression to its Time Remap property:

parentComp = comp("# Main > ## Scene 1");

compStartTimeInParent = parentComp.layer(thisComp.name).startTime;

parentComp.layer(thisLayer.name).timeRemap.valueAtTime(time + compStartTimeInParent)

And simply replace the parentComp variable.

For this to work, the targeted parent composition has to contain # Main > Voice over. The name of the composition is just an example, don’t worry about it. It is dynamic. And the targeted parent composition has to be time-remapped.

If you don’t care about setting those expressions yourself every time your want a layer synced, I get you. Presets do make things faster. Here’s links to presets for both setups:

  • First level compositions (preset named Sync Composition.ffx) Download
  • Second level compositions (preset named Sync Composition Time Remapped.ffx) Download

This thing has saved me countless hours over the years so I thought that’d make sense to share. Let me know if you have any questions of if you have another approach to this issue.

A composition naming system for After Effects

Written on 24 November 2016, 12:15pm under Techniques

Tagged with: ,

First, I want to stress that I think that, to many After Effects users, organization and methodology is the most underestimated pain point and undervalued aptitude. These do not make the coolest tutorials, but developing a structure is what makes working in After Effects enjoyable.

Organization isn’t fun, but it allows fun to blossom

I am a little obsessive about order and organization. In the past, always searching for a composition in a stack of Pre-comp X used to take a lot of mental energy away from me. It would render my work process dull and inflexible. Coming from a programming background, I knew I needed more structure. I needed a system.

I have worked with many of animators over the years and came to the conclusion that there are probably as many ways to organize an After Effects file as there are After Effects licenses. Some people have folders hierarchy into which they classify their compositions; some prefer color codes and some just straight up improvise on each and every new project.

After some unsuccessful research for a system that would fit my work, I experimented various classifying and naming techniques. Today, after about three years of tweaking and using this system on more than 100 projects, I feel confident about its validity. Of course, usual disclaimer, this might not work as is for everybody. This article is very opinionated and takes into account only my personal use cases, so take it with a grain of salt and feel free to adapt it to your needs.

I have written a bit about file naming in a previous article. This one will especially tackle the compositions naming inside of a project.

(more…)

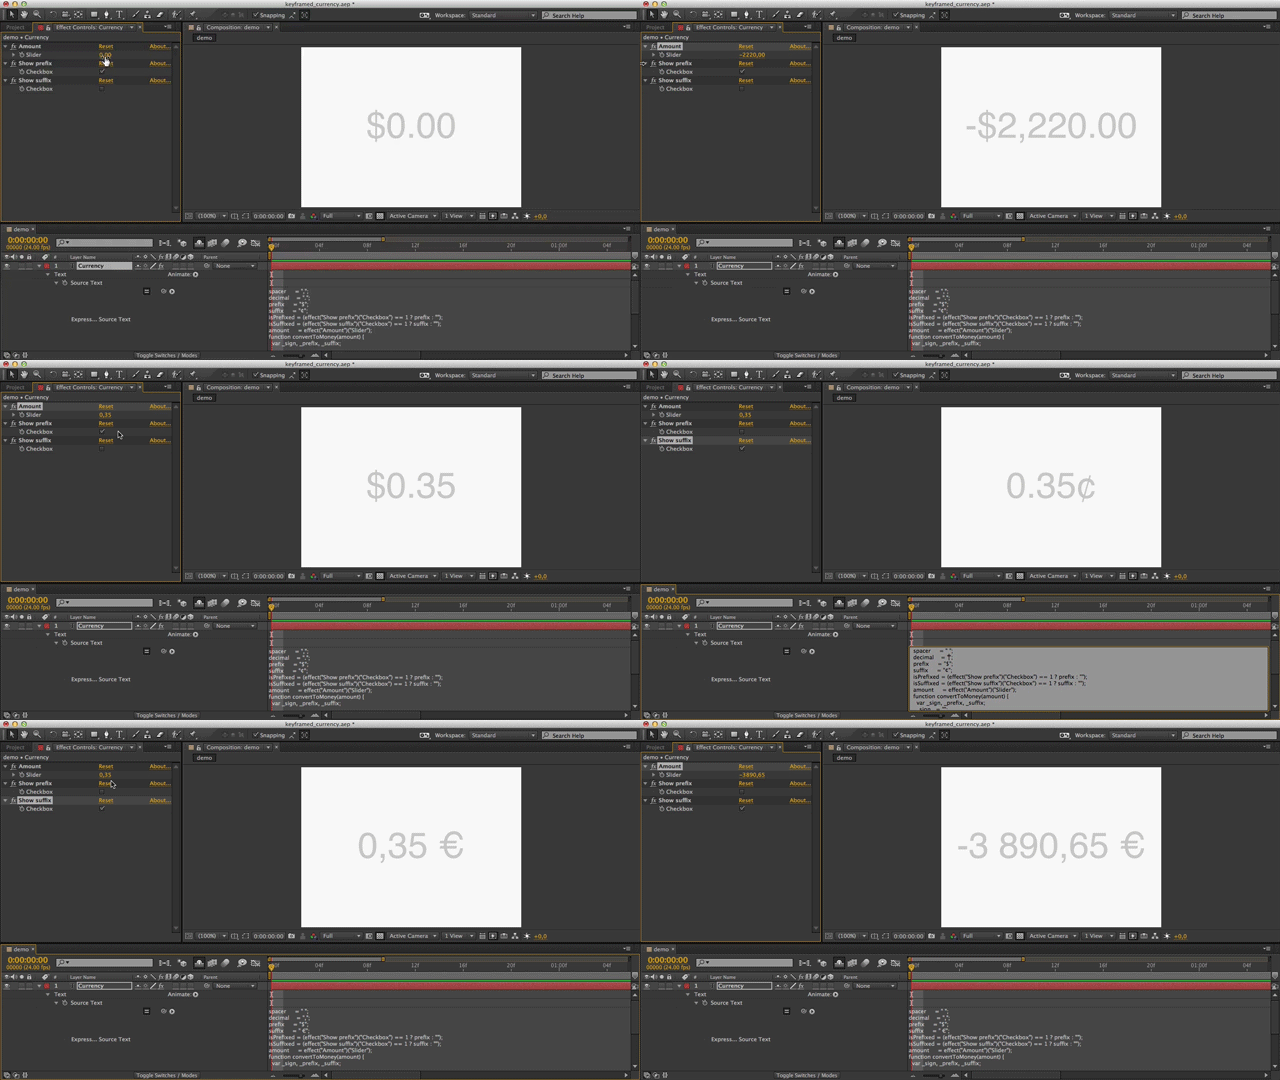
Expressions are a really powerful feature in After Effects. It can help you improve the quality and fluidity of your animation but it can also help you organize your project. Expressions if used well, gives you the opportunity to create yourself a custom dashboard on which you can control various global variables.

Create a controller

It is a good practice to keep a controller layer in a separate stand-alone composition. You will often see such a thing when you purchase items from marketplaces such as VideoHive.

But even when not selling your source files, you should act as if. Be it for a co-worker taking over your project or just the future you, who won’t enjoy searching through a messy compositions structure.

(more…)

Easing the gif creation process part 1: GifRocket

Written on 1 October 2013, 12:42am under Techniques

Tagged with: ,

To follow-up on our article 15 great animated gifs on Dribbble, it makes sense that we look at how we can make such gifs as swiftly as possible. We will go over this in two separate articles. We’ll first see in this article how to quickly turn a rendered video file into a gif without having to use Photoshop. In the second part we’ll use some ExtendScript to speed-up the process of rendering in After Effects and opening the video file in Photoshop.

(more…)

Using the After Effects command line render

Written on 11 September 2013, 03:35am under Techniques

Tagged with: ,

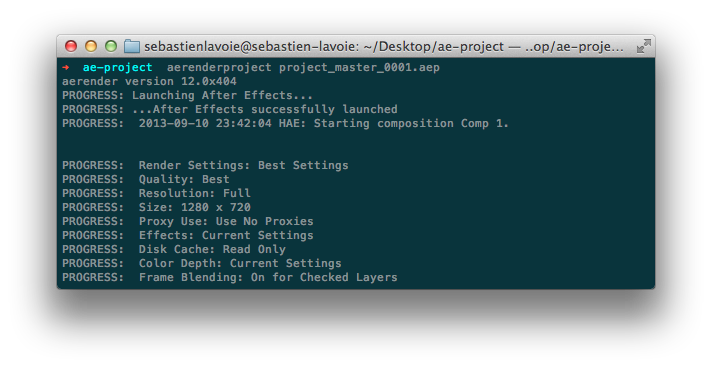
Adobe provides us some command line interface to start renders without having to start After Effects (here’s the documentation). This can be really useful when using multiple computers on remote desktops or just to give you the ability to alt+tab, start your render and keep on working. It offers a lot of options and possibilities. We won’t go over all of them, but we’ll instead focus on creating bash aliases to execute what we would probably mostly want. Don’t worry if you’ve never used the command line, we’ll go over all there is to know.

(more…)